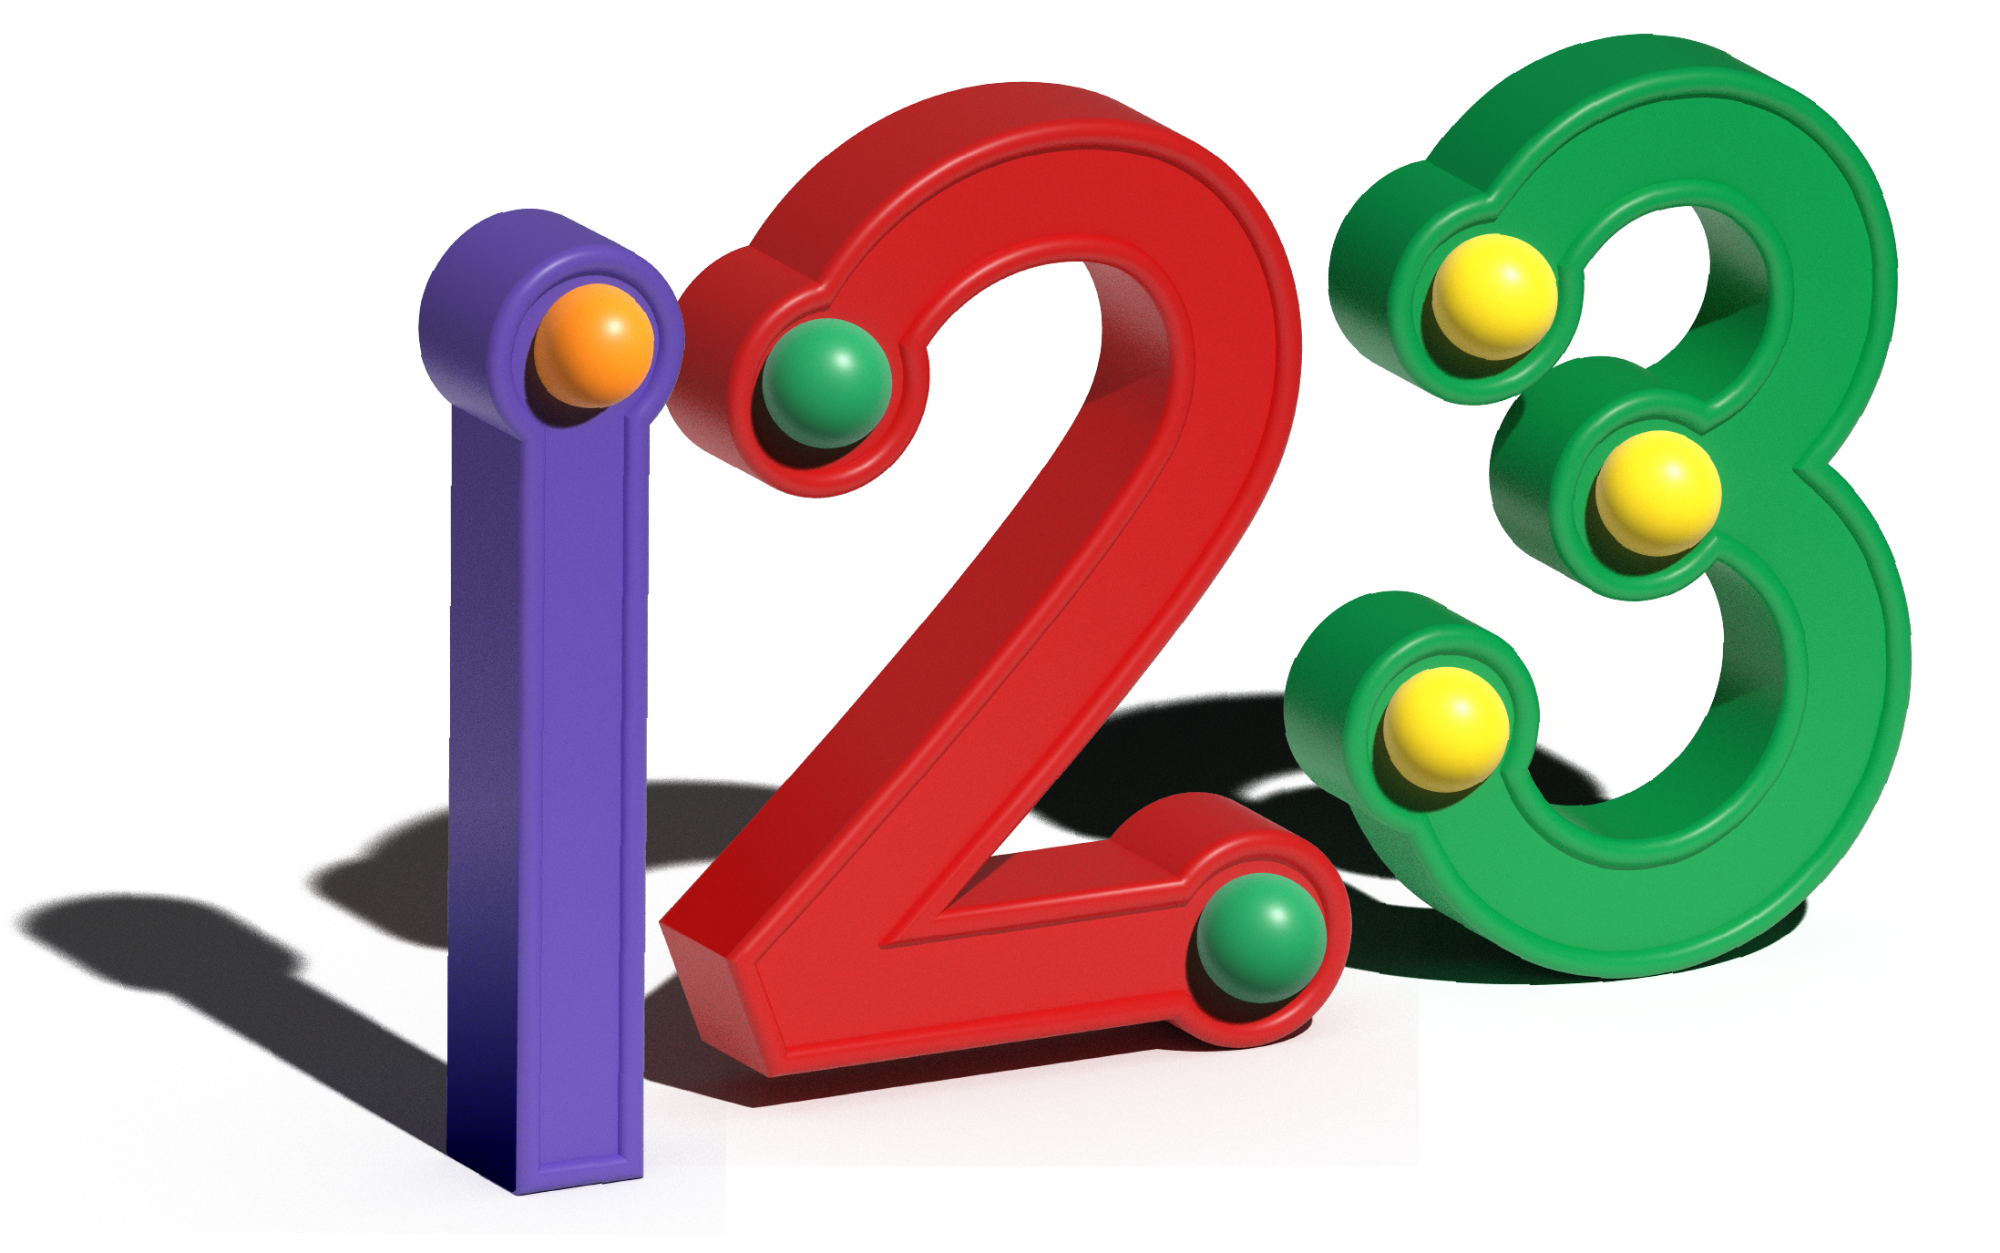
For over 50 years, TouchMath has provided systematic and explicit multisensory math instruction grounded in the Science of Mathematics to measurably accelerate student achievement. Educators around the country have relied on TouchMath to effectively meet the diverse and unique needs of students with dyscalculia and those who struggle with math.
The Explicit, Multisensory Math Solution for Administrators, Educators, and Students
With fifty years of proven results, the TouchMath solution has positively impacted how educational teams support the diverse and complex needs of students diagnosed with dyscalculia and those who struggle with math.
Administrators
Schools and districts around the country have relied on TouchMath to effectively meet the diverse and unique needs of students who struggle with math.
Build Accountability: Use research-proven solutions and data to drive continuous program improvement and drive student success.
Ensure Compliance: Ensure compliance with state and federal guidelines pertaining to special education by standardizing your data collection and reporting.
Increase Capacity: Increase capacity for high-quality math instruction, collaboration, and data informed instruction with each TouchMath partnership.
Teachers
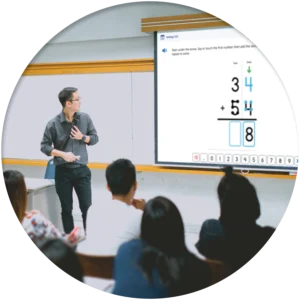
TouchMath empowers educational teams with a powerful solution that is proven to positively impact math achievement across all settings.
Differentiation: Flexible strategies and ready-to-use supports are designed to meet the unique needs of each individual student.
Streamline Efficiencies: Our powerful solution reduces planning time, limits the need for teacher-created resources and streamlines efficiencies, saving teams time and energy.
Progress Monitoring: Built in assessment tools and data collection resources inform instruction and provide deep insight into the present level of performance for each student.
Students
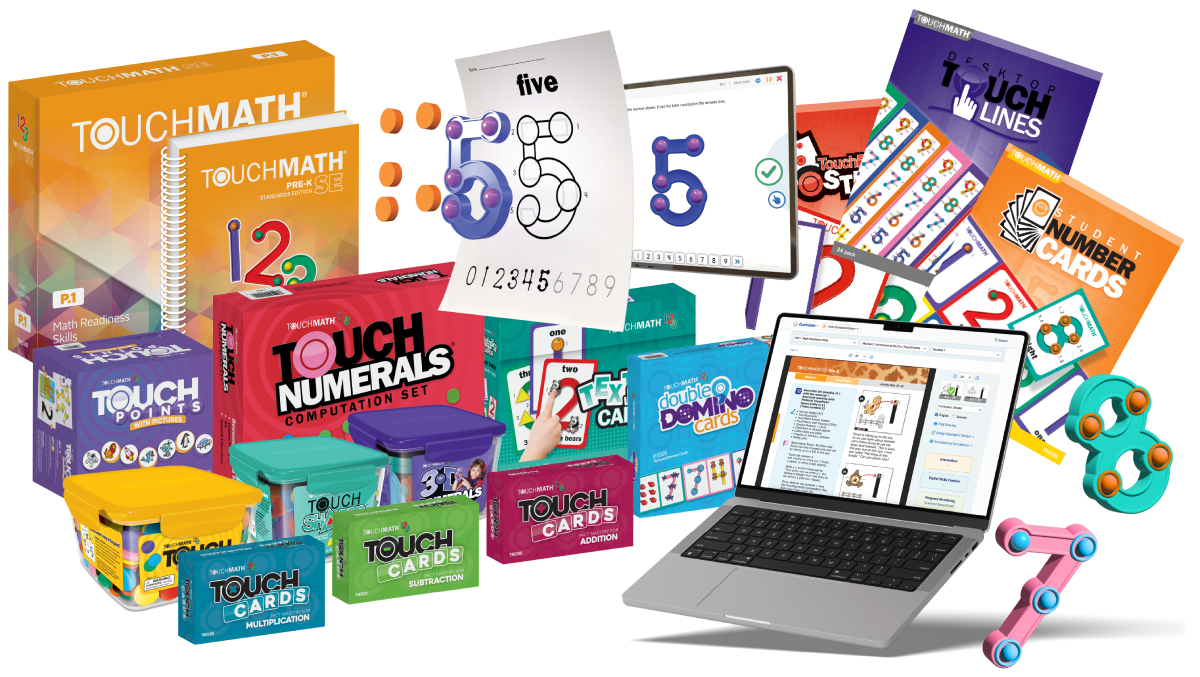
The TouchMath program uses hands-on manipulatives thatwork alongside activity sheets and interactive lessons to help students build foundational math skills.
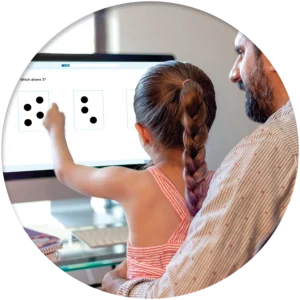
Personalized Learning: Student-centered learning on the adaptive, student platform helps to build skill proficiency and drive student confidence.
Digital Intervention: TouchMath's digital intervention tool adapts with student progress, moving students along the scope and sequence at the appropriate pace with the appropriate level of support.
Hands-On Engagement: Foster active learning with hands-on, multisensory learning that encourages exploration and deeper understanding of abstract math concepts.
Our Mission
We are committed to empowering educators and supporting students by providing scientifically-based instructional programs and tools that ensure every student has the opportunity to succeed.
Research
Over fifty years of research proves that TouchMath is an effective intervention for measurably improving math outcomes.